


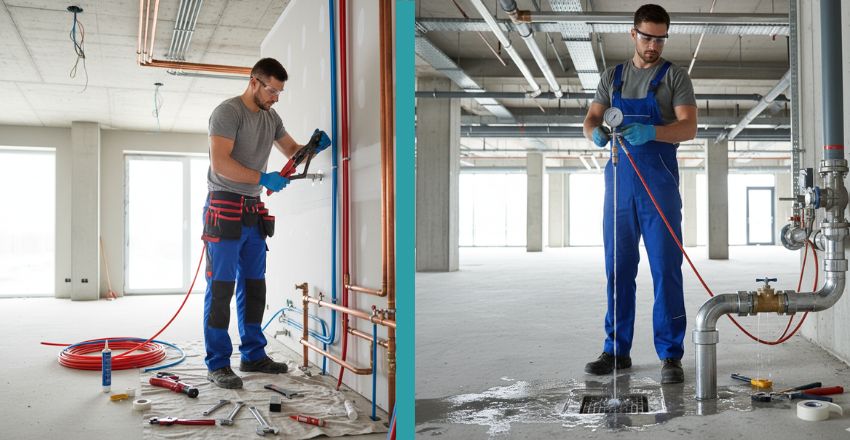
Getting Insights Into The Plumbing Installation
Plumbing installation plays a vital role in every home and commercial building, forming the backbone of clean water flow and waste removal. In fact, over 95% of construction projects require some form of plumbing work. The guide covers the complete Plumbing installation process in five simple steps—planning, water line setup, drainage, fixture fitting, and testing—plus key tools, materials, and professional guidance.
Skilled plumbers have shaped modern plumbing by following strict codes and using reliable materials like PVC, PEX, and copper, ensuring safe and long-lasting systems that support sanitation, safety, and comfort across generations.
| Basics | Key Point |
| Basics | Plumbing installs water, drain lines, and fixtures. |
| Purpose | Needed in all homes and buildings. |
| Planning | Prevents leaks, clogs, and issues. |
| Tools | Use cutters, wrenches, and sealants. |
| Materials | Choose PVC, PEX, or copper. |
| Quality | Good parts ensure durability. |
| Layout | Mark pipe and fixture spots. |
| Benefits | Accurate plans save time and avoid errors. |
| Water Lines | Install secure, pressure-safe pipes. |
| Sizing | Right size = steady flow. |
| Drainage | Slope pipes, seal connections. |
| Vents | Allow air, block odors. |
| Fixtures | Align, seal, and test. |
| Testing | Check for leaks, pressure, and flow. |
| Fixes | Repair issues before use. |
| Professionals | Experts follow codes to prevent mistakes. |
Understanding Plumbing Installation Basics
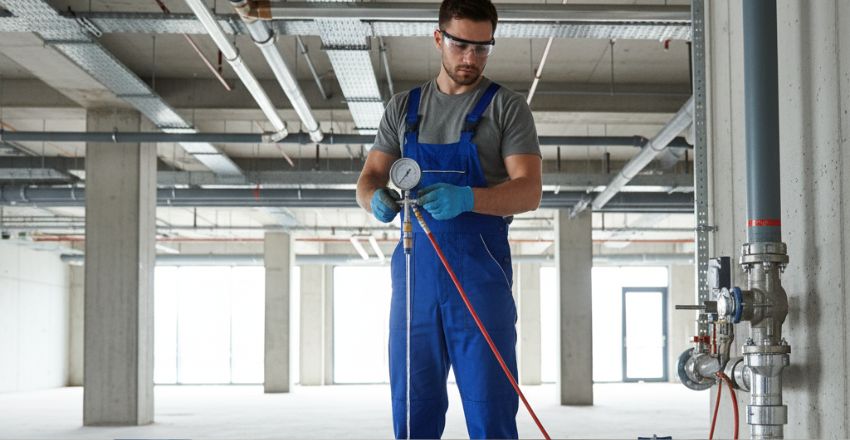
Before starting any project, it’s essential to understand what plumbing installation involves. It includes laying pipes for water supply, drainage, and connecting plumbing fixtures. This process must comply with local codes and safety standards. Proper planning and execution are vital to avoid future issues. Whether it’s a residential or commercial job, knowing the scope and stages of installation will help you make informed decisions throughout the process.
Tools and Materials Required
- Standard tools include pipe cutters, wrenches, sealants, and measuring tape.
- Materials may vary based on the project, but often include PVC, copper, or PEX pipes along with valves and fittings.
- Always use high-quality components to ensure durability.
- Investing in proper tools not only makes plumbing installation smoother but also helps maintain safety and efficiency on the job site.
A Follow-Up Process
Step 1: Plan the Plumbing Layout
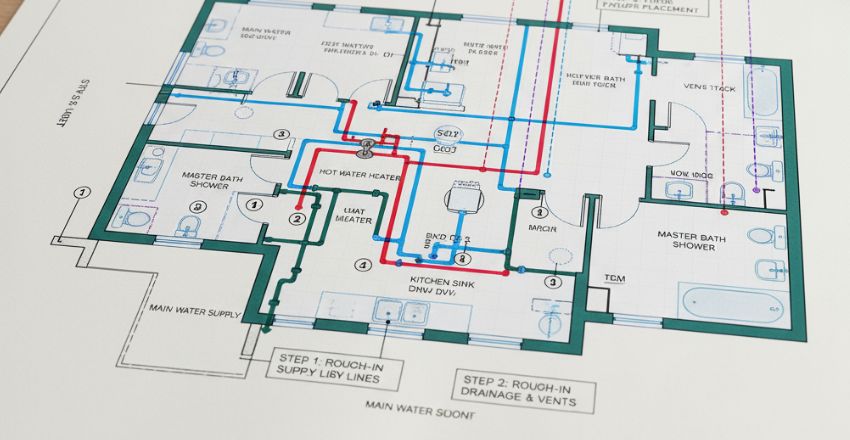
The first step is planning where all the pipes, fixtures, and appliances will go. This includes marking hot and cold water lines, drains, and vents. Proper planning avoids future leaks, poor water pressure, or clogs. Consult building plans and local plumbing codes. A detailed layout ensures the installation follows a clear path, reducing the chance of mistakes. It also helps plumbers work faster and more accurately during installation.
Step 2: Install Water Supply Lines
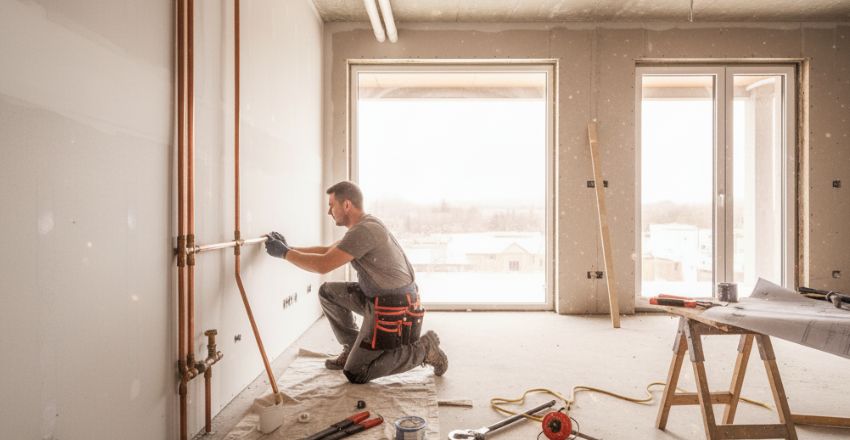
After the layout is ready, begin installing the water supply lines. These pipes deliver clean water throughout the building. Use materials like copper or PEX, ensuring tight connections to avoid leaks. Pay attention to pipe sizing to maintain proper water pressure. Good support is needed to prevent sagging. This stage is crucial in plumbing installation as it provides the foundation for every sink, toilet, or shower in the system.
Step 3: Set Up Drainage and Vent Lines
Drainage and vent lines are responsible for removing waste and preventing sewer gases from entering the building. These pipes need to be installed at a proper slope for efficient flow. Vents allow air into the system to aid water movement. All connections should be sealed securely. Correct installation at this stage ensures it remains functional and hygienic, preventing backups and odors in the living space.
Step 4: Install Plumbing Fixtures
With pipes in place, you can now install fixtures like sinks, toilets, bathtubs, and water heaters. Each fixture should be carefully aligned and securely connected to both the water supply and drainage lines. Use the proper seals, gaskets, and brackets to avoid future leaks. Check for proper function as each item is installed. A successful plumbing installation depends on the correct and professional fitting of all essential fixtures.
Step 5: Test the Entire System
Once everything is in place, test the system to ensure there are no leaks or clogs. Run water through all fixtures and check for correct drainage. Inspect pressure levels and listen for unusual noises that may suggest issues. If problems are found, they should be fixed immediately. This final step confirms the installation was done correctly and that the system is safe, efficient, and ready for regular use.
Hiring a Professional Plumber
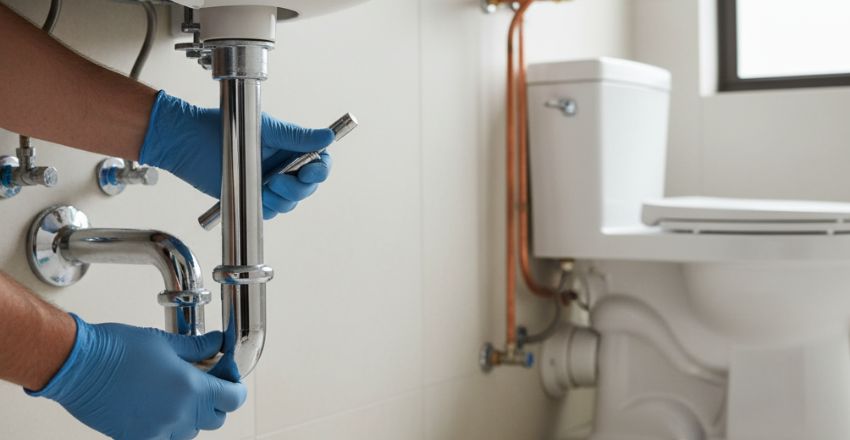
While some people attempt DIY, hiring a licensed plumber ensures the installation is done right the first time. Professionals understand codes, use the correct materials, and bring experience that prevents costly mistakes. They also manage permits and inspections when required. If you want long-term reliability and peace of mind, letting an expert handle your installation is often the safest and most innovative option.
Conclusion
Plumbing installation is a critical part of any building project, ensuring clean water flow and safe waste removal. From planning and material selection to proper testing, every step plays a role in system performance and safety. Using quality tools and hiring skilled professionals reduces long-term problems. Whether for a home or commercial space, a well-done installation saves time, prevents damage, and ensures lasting comfort and reliability for years to come.
Want to know about How To Pick Your Backyard’s Safest Trampoline For Children Check out our Home Improvement category.
FAQs
Proper installation prevents leaks, water damage, and system failures. It ensures safe water supply, efficient drainage, and compliance with local building codes and health standards.
Common materials include PEX, PVC, and copper pipes. Each material has unique benefits for water supply, drainage, and long-term durability in residential or commercial systems.
It depends on the project size. A small home may take 1–3 days, while larger or more complex systems can take several days or even weeks to complete.
While minor tasks may be DIY, complete plumbing should be done by licensed professionals to ensure safety, proper function, and compliance with local regulations.
Costs vary based on project size, materials, and labor. On average, it ranges from a few hundred to several thousand dollars for a complete system installation.