

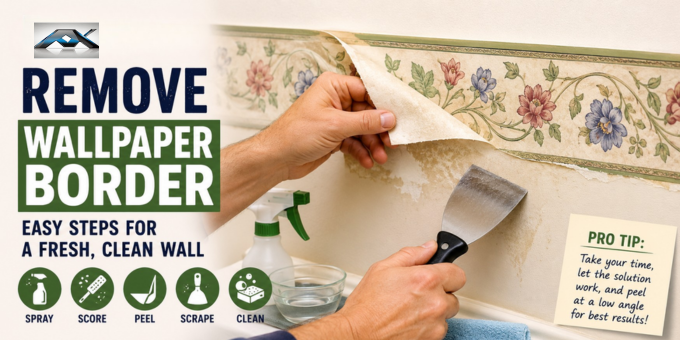
Remove Wallpaper Border projects are becoming increasingly popular as homeowners update outdated interiors and create cleaner, more modern spaces. Wallpaper borders had their moment, and honestly, they were charming. But styles change, and that floral strip running along your bathroom ceiling or the country-kitchen trim in your kitchen can start to feel like a time capsule from 1998. The good news? You don’t have to live with it.
Learning how to remove wallpaper border properly can help you refresh your bathrooms, kitchens, bedrooms, and hallways without damaging the paint, drywall, or plaster underneath. Removing a wallpaper border is one of those DIY jobs that sounds intimidating but is completely doable with the right approach.
The bad news is that doing it wrong can leave you with torn drywall, peeling paint, and a wall that looks worse than the border did. This guide walks you through everything, room by room, step by step, so that you can strip that border cleanly and confidently. Whether you’re refreshing a hallway, updating a bedroom, or finally tackling that kitchen, you’re in the right place.
Remove Wallpaper Border: Helpful Tips and Solutions Table
| Situation | Solution |
|---|---|
| Old wallpaper border won’t peel | Apply more removal solution and wait longer |
| Adhesive remains on wall | Re-wet the area and scrape gently |
| Paint starts peeling | Stop immediately and reduce moisture |
| Border tears while removing | Work in smaller sections |
| Drywall paper exposed | Seal and repair before painting |
| Bathroom border is stubborn | Use steam to soften the adhesive |
| Kitchen border feels greasy | Clean with a degreaser first |
| Hallway border is very long | Remove it section by section |
| Border near ceiling | Use minimal water to avoid drips |
| Mold found behind border | Clean and disinfect before repairs |
| Scoring tool leaves marks | Use lighter pressure |
| Removal solution dries too quickly | Spray again and keep the area damp |
| Plaster wall underneath | Scrape extra carefully |
| Multiple wallpaper layers | Remove one layer at a time |
| Sticky residue won’t come off | Use vinegar or adhesive remover |
| Border was painted over | Score thoroughly before soaking |
| Water stains appear | Allow the wall to dry completely |
| Uneven wall surface after removal | Sand lightly before painting |
| Wallpaper backing remains | Soak again and peel slowly |
| Painting after removal | Always apply primer first |
| Border around cabinets | Protect surfaces with painter’s tape |
| Scraper damages wall | Switch to a plastic scraper |
| Difficult corner sections | Soak longer before peeling |
| Large room project | Divide the work into manageable sections |
| Final wall preparation | Clean, repair, prime, and paint |
Tools to Remove Wallpaper Border
Don’t wing it. Gather your supplies first, and the job goes twice as fast.
- Plastic drop cloths or old towels
- Painter’s tape
- Scoring tool (a wallpaper scorer/perforator)
- Spray bottle or garden sprayer.
- Wallpaper removal solution (or DIY mix)
- Wide plastic putty knife or scraper (avoid metal on drywall)
- Sponge and bucket
- Clean rags or microfiber cloths
- Sandpaper (120–220 grit) for smoothing afterward
- Primer (for repainting)
Pro Tip: A 6-inch-wide plastic scraper works best for this job and helps you remove wallpaper borders more smoothly without damaging the wall. Metal scrapers dig into drywalls too easily, especially on older walls.
Know Your Wall Type First
Stop before you soak anything. The removal method depends heavily on what’s behind the border.
| Wall Type | Risk Level |
| Painted Drywall | 🔴 HIGH- soaks through easily |
| Plaster Walls | 🟢 LOW- more moisture-tolerant |
| Painted Plaster | 🟡 MEDIUM- test a small area |
| Skim-Coated Drywall | 🟡 MEDIUM- durable |
| Unpainted Drywall | 🔴 VERY HIGH- avoid the wet method |
If you’re unsure, tap the wall. A hollow sound = drywall. A solid thud = plaster. It matters because when you remove the wallpaper border, the drywall paper facing can be damaged by excessive moisture.
The DIY Removal Solution (It Works Better Than You Think)
Option 1: Commercial Wallpaper Remover
Products such as DIF Liquid and Piranha are widely available. Mix with warm water per the label instructions. These enzyme-based solutions break down the adhesive without harsh chemicals.
Option 2: The Fabric Softener Trick
Combine warm water and liquid fabric softener in equal amounts inside a spray bottle and mix well. Many homeowners swear by this; it softens the adhesive effectively and smells great while doing it.
Option 3: White Vinegar Solution
Blend one part white vinegar with two parts warm water, then stir or shake well to combine. It’s cheap, non-toxic, and surprisingly effective on older adhesives.
Step-by-Step: How to Remove Wallpaper Border (Universal Method)
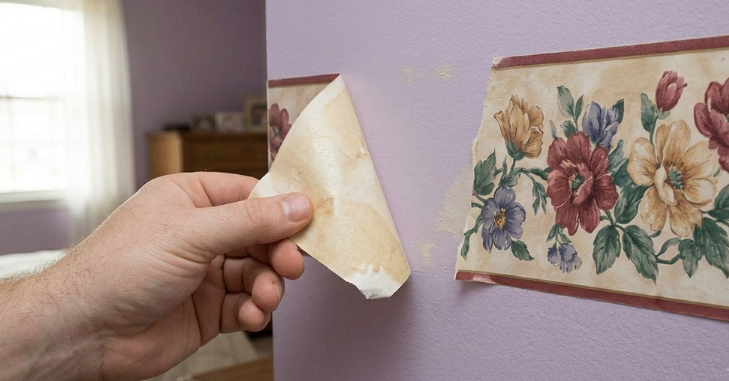
Follow these steps regardless of which room you’re working in. Room-specific tips come next.
- Protect the area: Lay drop cloths on the floor and use painter’s tape to cover trim, countertops, or cabinets. Water can drip, so prepare in advance.
- Score the border: Lightly use a wallpaper scoring tool to create small holes so the solution can reach the adhesive underneath. Avoid pressing too hard.
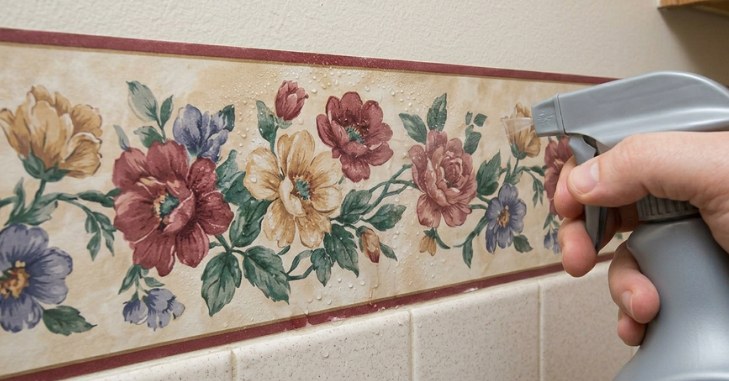
- Apply solution: Spray the mixture generously and let it sit for 3–5 minutes until the border softens and darkens slightly.
- Test a corner: Gently lift an edge with your fingernail or scraper. If it peels easily, continue; if not, spray again and wait a bit longer.
- Peel carefully: Pull the wallpaper border slowly at a shallow angle, keeping it close to the wall to avoid damage.
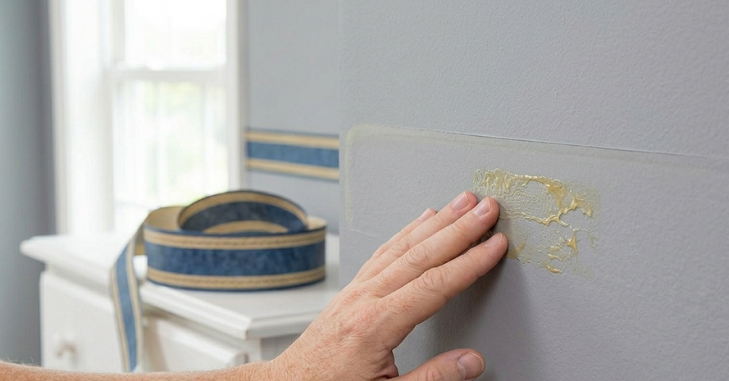
- Remove residue: Re-wet any sticky areas, then gently scrape off any leftover adhesive with a plastic scraper.
- Clean the wall: Wipe the surface with a damp sponge and mild soap to remove any remaining residue and prepare it for finishing.
- Let the walls dry completely. Allow at least 24 hours before painting or priming. Rushing this step is the #1 cause of paint adhesion problems.
- Repair, prime, and paint. Skim-coat any torn areas with joint compound, let dry, sand smooth, prime, then paint. Done
Room-by-Room Guide
Removing Wallpaper Border in Bathrooms
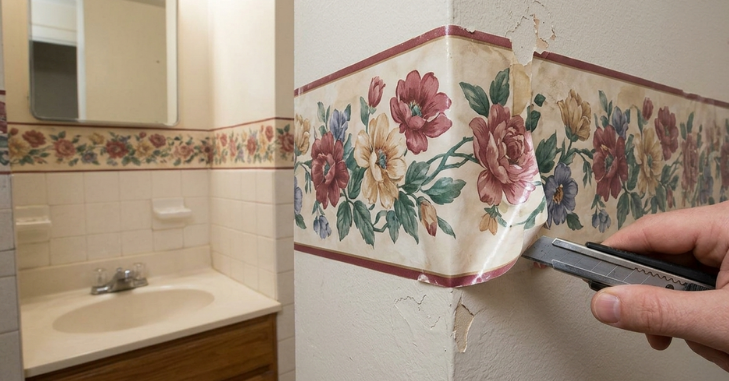
Bathrooms are tricky for one reason: moisture. Borders in bathrooms are often glued with extra adhesive because of the humid environment. On the flip side, steam from showers can actually help loosen the adhesive. Before you start, run the shower hot for 5–10 minutes; the steam naturally softens the adhesive and makes peeling much easier.
Work carefully near tiled areas since water behind grout lines can cause long-term damage. And don’t skip a quick mold check once the border is off; bathroom walls are a hotspot for hidden mold growth. Always finish with a mold-resistant primer before repainting. In bathrooms, always dry the wall thoroughly after removal. Trapped moisture behind paint leads to mold within weeks.
Removing Wallpaper Border in Kitchens
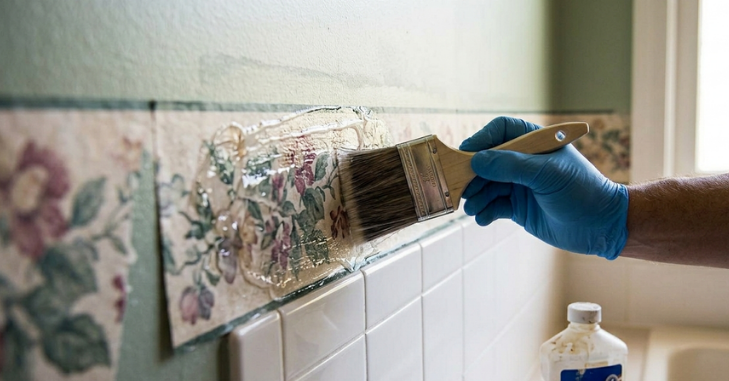
Kitchens present a different challenge: grease and grime. Years of cooking can cause a waxy film to build up and around the border, which blocks your removal solution from penetrating. Before you score or spray, clean the border first.
- Wipe down the border with a degreaser (such as a diluted dish soap solution or a TSP substitute).
- Let it dry, then proceed with your scoring and spraying routine.
- Borders installed near backsplash tile; moisture near grout can cause long-term issues.
- Borders above cabinets that haven’t been touched in years (extra adhesion time = tougher removal)
In kitchens, patience wins. Soak the border twice if needed. Grease-baked adhesives don’t surrender, don’t they?
Removing Wallpaper Border in Bedrooms
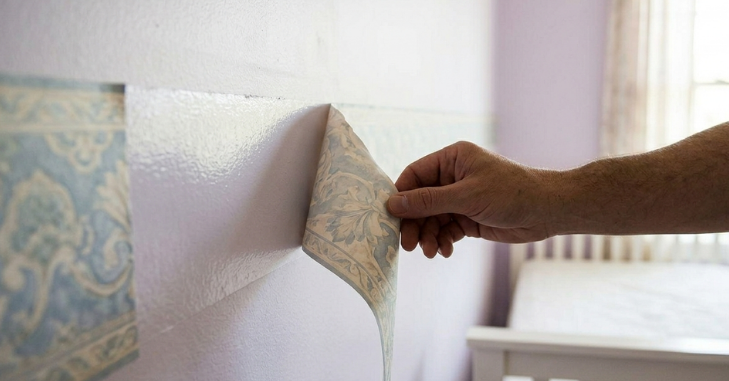
Bedrooms are typically the easiest room for this job. Walls are usually well-painted drywall or plaster with no humidity complications. That said, bedroom borders are often installed at eye level (mid-wall, chair-rail style) rather than at the ceiling, which means the wall behind them may never have been painted.
If the border sits mid-wall, the paint behind it may not match the rest of the room, so plan to repaint the entire wall rather than just the strip. Watch out for double borders too; layered wallpaper was common in 1990s’ bedrooms, so don’t be caught off guard if peeling one reveals another underneath. Kids’ room borders deserve extra care, since they’re often stuck directly over flat paint, making them more likely to pull the finish right off the wall.
Removing Wallpaper Border in Hallways
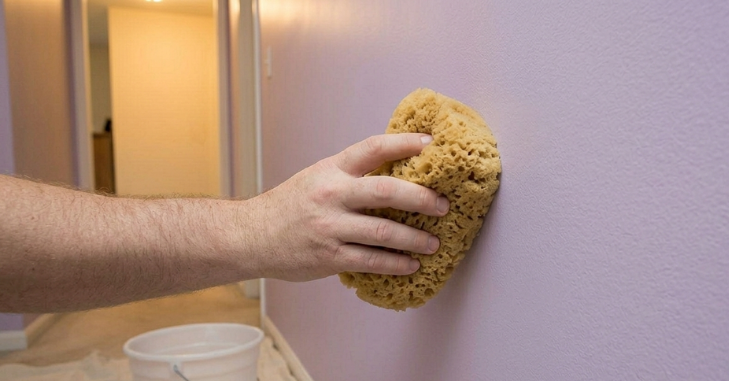
Hallways are of. Then, the most physically demanding part is removing the wallpaper border because of its length. A long hallway border can mean 40–60 linear feet of work. The method is the same, but a few things make hallways uniquely challenging when you remove wallpaper borders.
Hallway Challenges
- High-traffic walls often have scuffs, repair patches, and uneven paint; the border might be hiding damage underneath.
- Ceiling height borders in hallways may require a ladder, making slow, controlled scraping harder.
- Hallway walls are frequently bumped, so drywall damage underneath the border is common.
Work in sections of 3–4 feet. Spray, wait, peel, wipe; then move on. Don’t spray the whole hallway at once, or the solution will dry before you get to it.
Comparison: Removal Methods briefly
| Method | Ease | Effectiveness | Best For |
| Commercial remover + scorer | ⭐⭐⭐⭐ | Excellent | All wall types |
| Fabric softener + warm water | ⭐⭐⭐⭐⭐ | Very good | Lightly adhered borders |
| Vinegar + water | ⭐⭐⭐ | Good | Older adhesive |
| Steam wallpaper stripper | ⭐⭐⭐ | Excellent | Stubborn or layered borders |
| Dry peeling (no solution) | ⭐⭐ | Poor | Fresh borders only |
Key Takeaways
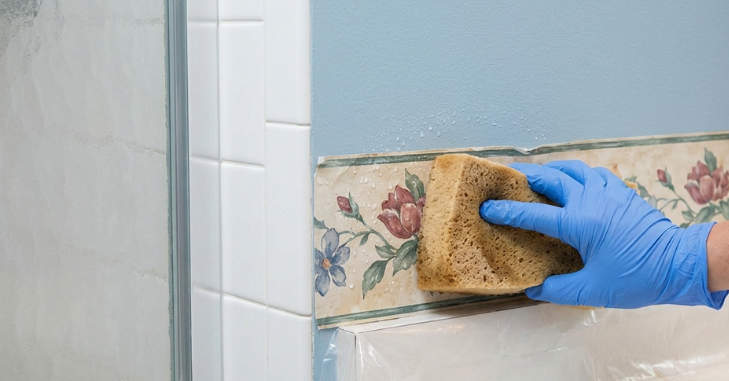
- Always score th.e border before soaking.
- Use a plastic scraper; never use a metal scraper on drywall.
- Let the solution soak for at least 3–5 minutes.
- Peel at a low angle, never yank.
- Wash off all residue before priming.
- Allow 24 hours drying time before painting.
- Always prime before repainting; no exceptions
Conclusion
Removing a wallpaper border isn’t a glamorous job, but it’s one of the most satisfying weekend projects you can tackle. A few hours of careful work: score, soak, peel, wash, dry, prime; and you can remove borders to give your walls a fresh start. Whether it’s a bathroom that finally feels modern, a bedroom that feels like yours, or a hallway that no longer feels stuck in another decade, learning to remove wallpaper border properly delivers results that are worth every bit of effort.
Even with the best technique, accidents happen. For torn drywall facing or scraper gouges, apply a thin coat of joint compound, let it dry, sand smooth with 120-grit, and always prime before painting; bare spackle will show through as a dull patch. Stubborn adhesive residue responds well to undiluted white vinegar left on for 5 minutes, or a product like Goo Gone for tougher spots.
If paint pulls off with the border, the wall was likely never properly primed; scrape back to a stable edge, feather in joint compound to blend the surface, then prime and paint as normal. The key is patience. Don’t rush the soaking step, don’t force the peeling, and don’t skip the primer. Do it right once, and you’ll never have to do it again. Now go reclaim your ls.
Want to know about Cool Wall Art Ideas That Instantly Upgrade Modern Spaces Check out our Home Improvement category.
Frequently Asked Questions (FAQ)
Apply warm water or a removal solution and let it soak briefly. Then wipe or scrape the residue away gently.
Most rooms take between 2 and 4 hours, depending on the border’s age and strength.
Yes. Primer helps create an even surface and improves paint adhesion after wallpaper removal.
Painting over a wallpaper border is possible, but the edges may remain visible. Removing it first provides a smoother and longer-lasting finish.
Peel back into a small corner and inspect underneath. Different colors or textures usually indicate additional layers.