

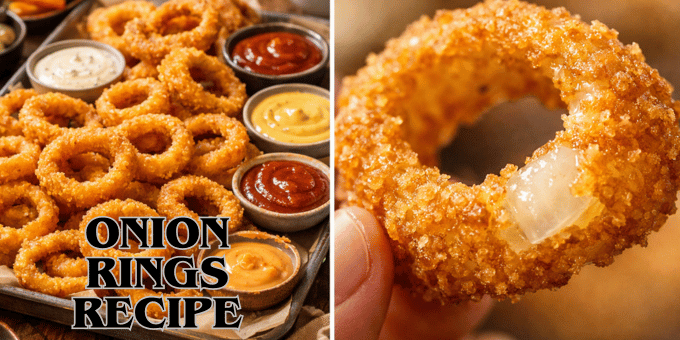
To make crispy onion rings at home, slice a large yellow or sweet onion into 1/2-inch rings, soak them briefly in buttermilk, dredge them in seasoned flour, dip them in a cold batter of flour, cornstarch, baking powder, egg and sparkling water, press them into panko, then fry at 350 to 375°F (175 to 190°C) for about 2 to 3 minutes until deep golden. Salt them the moment they leave the oil and serve right away.
This onion rings recipe walks through every stage that decides whether your rings come out light and shattering or heavy and greasy: choosing onions, building the batter, setting up a tidy coating station, managing the oil, and fixing the most common problems. You will also find oven and air fryer versions, flavor twists, make-ahead advice and the best way to reheat leftovers.
Onion Rings Recipe at a Glance
| Detail | What you need to know |
|---|---|
| Serves | 4 as a side |
| Prep time | 20 minutes, plus 15 to 30 minutes soaking (optional) |
| Cook time | 15 to 20 minutes in batches |
| Best onions | Large yellow or sweet onions (such as Vidalia) |
| Frying temperature | 350 to 375°F (175 to 190°C); aim for 365°F |
| Oven | 425°F (220°C), 15 to 20 minutes |
| Air fryer | 375°F (190°C), 8 to 10 minutes |
| Difficulty | Easy to moderate; the main skill is holding the oil temperature |
Why Homemade Onion Rings Beat Frozen
Many frozen and fast-food onion rings are made from chopped, reformed onion wrapped in a thick, uniform breading. Homemade rings use whole slices, so you bite into a sweet, tender onion inside a light, crackly crust. You also control the salt, seasoning and type of oil, and you can serve them seconds out of the pot, which is when onion rings are at their best.
The method is not difficult. Most of the work is setting up your bowls in the right order and frying in small batches. Once you have done it once, the second batch comes together quickly.
Choosing the Right Onions
The onion you choose changes the flavor and texture more than any other ingredient.
| Onion | Flavor when fried | Best for |
|---|---|---|
| Yellow | Balanced, sweet and savory | All-purpose classic rings |
| Sweet (Vidalia, Walla Walla) | Mild and very sweet | Crowd-pleasing, kid-friendly rings |
| White | Sharper, with a crisp texture | Diner-style rings with bite |
| Red | Mild, slightly peppery; color fades when cooked | Occasional variety |
Pick large, firm onions that feel heavy for their size, with tight, dry skins and no soft spots or green sprouts. Larger onions give you more of the wide rings everyone wants. Save the small inner rings for soups and stir-fries, or fry them as bite-size “petals” for snacking while you cook.
Ingredients
- 2 large yellow or sweet onions
- 1 cup buttermilk for soaking (optional; regular milk also works)
- 1/2 cup all-purpose flour, for dredging
- Batter: 1 cup all-purpose flour, 1/4 cup cornstarch, 1 teaspoon baking powder, 1 teaspoon salt, 1/2 teaspoon black pepper, 1/2 teaspoon paprika, 1 large egg and about 1 cup very cold sparkling water
- 1 1/2 cups panko breadcrumbs
- Neutral oil with a high smoke point (canola, vegetable, peanut or sunflower), enough for 2 to 3 inches in a heavy pot
- Flaky salt, to finish
Why These Ingredients Work
Each part of the coating has a job. The dredging flour dries the surface of the onion so the batter has something to grab. Cornstarch keeps the batter crisp because it does not develop gluten the way wheat flour does. Baking powder and cold sparkling water both add bubbles, which puff into a lighter shell. The egg binds everything, and panko adds a jagged outer layer with lots of surface area for crunch.
If you are cooking for someone with a peanut allergy, avoid peanut oil and check the labels on any blended frying oils.
Equipment Checklist
- A heavy, deep pot or Dutch oven (cast iron or thick stainless steel holds heat best)
- A clip-on deep-fry or instant-read thermometer
- Three shallow bowls or pie plates for the coating station
- A wire rack set over a sheet pan, plus a second rack for finished rings
- A spider strainer or slotted spoon
- A tight-fitting lid kept within reach as a safety measure
Step-by-Step Instructions
1. Slice and Soak the Onions
Peel the onions, trim the ends and slice crosswise into 1/2-inch rings. Thinner slices burn before the coating colors; thicker slices can stay crunchy and raw in the middle. Separate the rings and peel away the thin, papery membrane on the inside of each ring if it slips loose, because the coating tends to slide off that layer.
For milder, more tender rings, soak them in buttermilk for 15 to 30 minutes. Drain well, then pat thoroughly dry with paper towels. Excess moisture is the main reason batter will not stick.
2. Heat the Oil
Pour oil into a heavy, deep pot so it is no more than half full, and heat it over medium to medium-high heat to 365°F (185°C). A thermometer is the easiest way to keep the temperature steady. Keep a lid nearby, never leave hot oil unattended, and never use water on an oil fire; slide the lid on and turn off the heat instead.
3. Make the Batter
Whisk the flour, cornstarch, baking powder, salt, pepper and paprika together in a bowl. In a second bowl, whisk the egg with the cold sparkling water, then pour it into the dry mix and stir just until smooth and about as thick as pancake batter. A few small lumps are fine. Overmixing develops gluten and gives you a heavier, bready crust.
4. Set Up the Coating Station
Line up three shallow bowls in order: dredging flour, batter, then panko. Put a wire rack over a sheet pan at the end of the line. Use one hand for the dry bowls and the other for the batter. This “dry hand, wet hand” habit stops your fingers turning into clumpy “club fingers” halfway through.
5. Coat the Rings
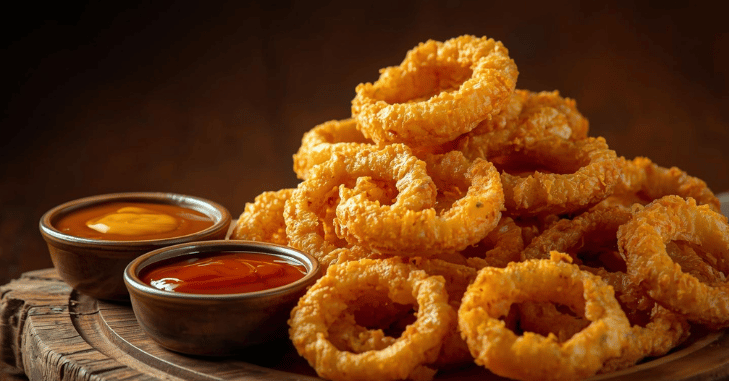
Toss each ring in flour and shake off the excess. Dip it in batter, let the extra drip back into the bowl, then press it into the panko on both sides. Set it on the rack. Let coated rings rest for 5 to 10 minutes so the crust can set; this simple pause helps the coating cling during frying.
6. Fry in Small Batches
Fry four to six rings at a time for about 2 to 3 minutes, turning once, until deep golden. Lift them onto a clean rack, which keeps the bottoms crisper than paper towels, and sprinkle with flaky salt while they are still hot. Let the oil return to temperature before adding the next batch. Skim out any loose crumbs between batches so they do not burn and flavor the oil.
Tips for Extra Crispy Onion Rings
- Keep the batter cold. If your kitchen is warm, set the bowl inside a larger bowl of ice or chill it between batches.
- Use panko rather than fine breadcrumbs for a jagged, crunchy shell.
- For an extra-thick crust, double dip: batter, panko, batter, panko.
- Do not overcrowd the pot. Too many rings at once drop the oil temperature and make them greasy.
- Salt immediately after frying, while the surface is still slightly oily, so the salt sticks.
- Serve right away. Onion rings are at their crispiest in the first few minutes.
Troubleshooting Common Problems
| Problem | Likely cause | Fix |
|---|---|---|
| Coating slides off | Wet onions or membrane left on | Dry thoroughly, remove the membrane and dredge in flour first |
| Greasy rings | Oil too cool or pot overcrowded | Fry smaller batches at 350 to 375°F |
| Dark outside, raw onion inside | Oil too hot or slices too thick | Lower the heat slightly and slice at 1/2 inch |
| Soggy soon after frying | Drained on paper, or rings stacked | Drain on a rack in a single layer |
| Heavy, bready crust | Overmixed or warm batter | Stir briefly and use ice-cold sparkling water |
| Bald patches | Rings touching while coating set | Space them out on the rack and rest before frying |
A quick way to test your setup is to fry a single ring first. If it browns in under a minute, the oil is too hot; if it takes more than four minutes, the oil is too cool. Adjust, then fry the rest.
Baked and Air Fryer Onion Rings
Wet batter drips through oven racks and air fryer baskets, so for these methods switch to a standard breading sequence: flour, then egg beaten with a splash of milk, then panko. Toast the panko in a dry skillet for a few minutes first, stirring until light golden, because it will not brown as deeply without deep frying.
- Oven: heat to 425°F (220°C). Place the rings on a rack set over a lined baking sheet, spray lightly with oil and bake for 15 to 20 minutes, flipping halfway.
- Air fryer: heat to 375°F (190°C). Arrange the rings in a single layer, spray with oil and cook for 8 to 10 minutes, flipping once. Cook in batches rather than piling them up.
Fried vs. Baked vs. Air Fryer
| Method | Texture | Oil used | Best when |
|---|---|---|---|
| Deep fried | Lightest, crispiest, most even color | Most | You want the classic restaurant result |
| Oven baked | Crunchy shell, slightly drier | Light spray | You are cooking a big batch at once |
| Air fryer | Very crisp, close to fried | Light spray | You are cooking for one or two |
Flavor Variations
- Beer-battered: swap the sparkling water for cold lager for a fuller, pub-style crust. Skip the panko if you prefer a smooth, classic finish.
- Spicy: add 1/2 teaspoon cayenne to the batter and a little chili powder to the panko.
- Garlic parmesan: add garlic powder to the dredging flour and shower the hot rings with finely grated parmesan and chopped parsley.
- Ranch-seasoned: mix dried dill, garlic powder and onion powder into the panko.
- Gluten-free: use a gluten-free flour blend with the cornstarch and gluten-free panko.
What to Serve With Onion Rings
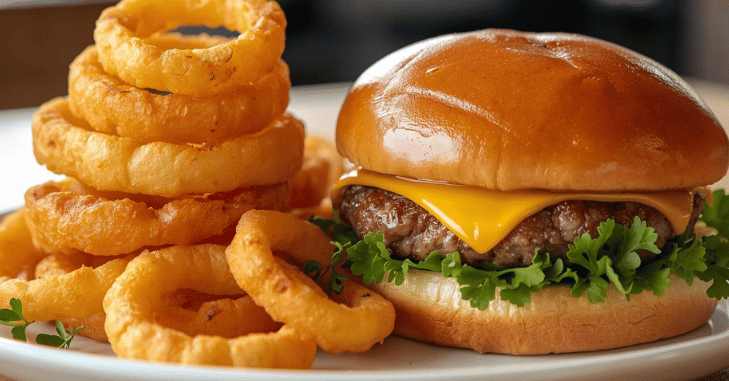
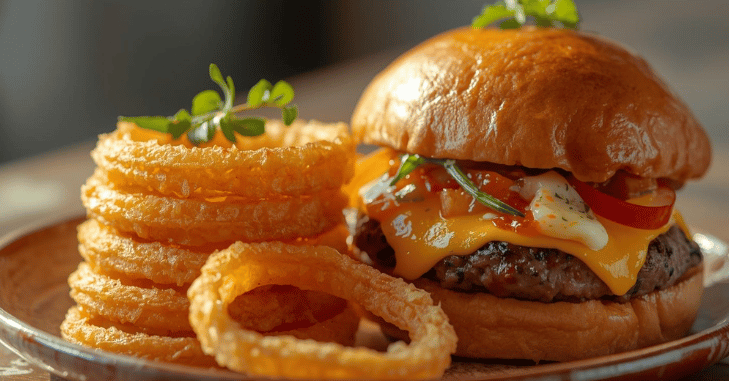
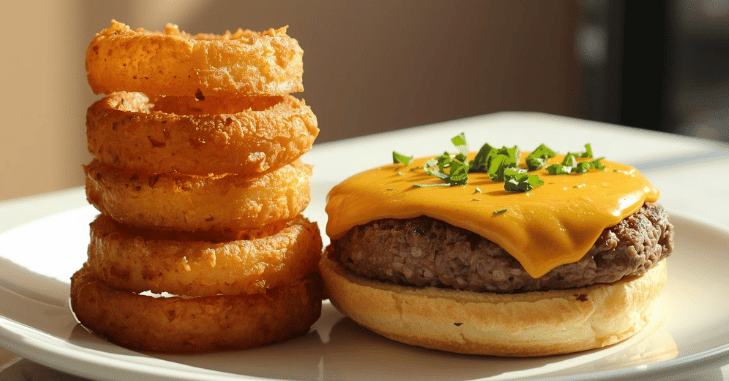
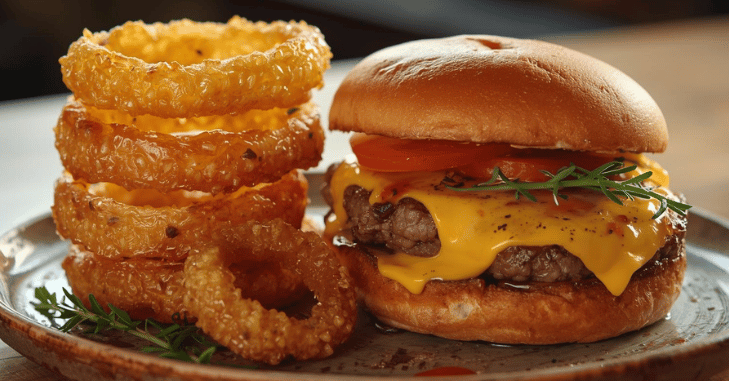
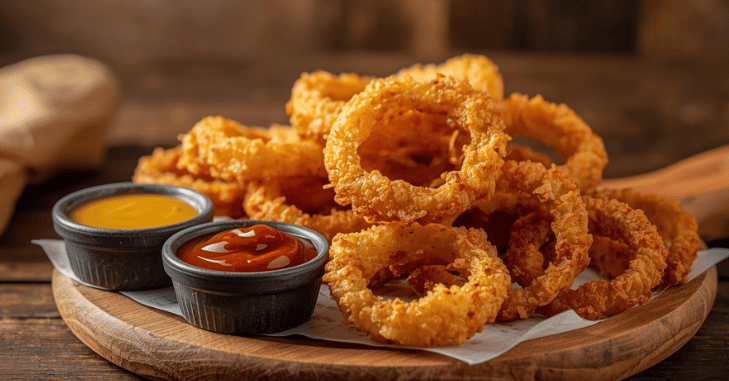
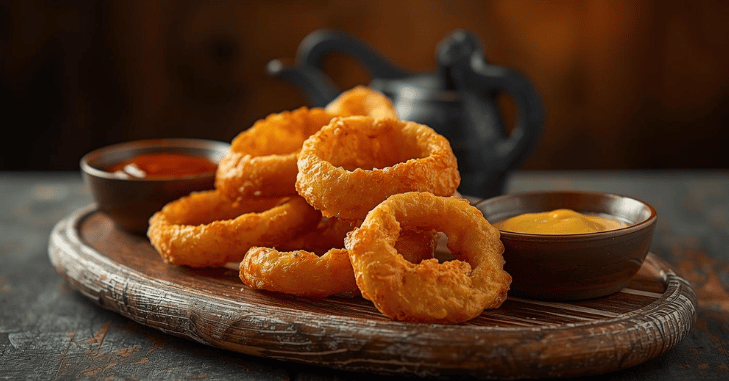
Onion rings sit naturally next to cheeseburgers, BBQ sandwiches, grilled chicken, steak and hot dogs, and they are a strong addition to game-day platters. Good dips include ranch, spicy mayo (mayonnaise with sriracha and a squeeze of lime), BBQ sauce, honey mustard, garlic aioli and ketchup.
For a lighter meal, serve a few rings as a crunchy topping on a bowl of hearty beef soup, or put them on a snack board alongside tangy pickled eggs, sliced cheese and crisp vegetables.
Making Onion Rings for a Crowd
- Slice and soak the onions up to a few hours ahead and keep them covered in the fridge.
- Mix the dry batter ingredients ahead, but add the egg and sparkling water just before frying.
- Heat the oven to 200°F (95°C) and set a rack over a sheet pan inside it.
- Fry in batches and move finished rings to the warm oven; they hold well for about 20 minutes.
- Serve in waves rather than all at once so each round is as crisp as possible.
Storing, Freezing and Reheating
Cool leftovers completely, then refrigerate them in an airtight container for up to 3 days. To freeze, spread cooled rings on a tray until solid, then transfer them to a freezer bag for up to 2 months.
Reheat in a 375°F oven for 8 to 10 minutes or in an air fryer for 3 to 5 minutes, adding a few minutes if they are frozen. Avoid the microwave, which turns the crust soft and chewy.
Once the frying oil has cooled, strain it through a fine sieve if you plan to reuse it, and store it covered. Dispose of used oil in a sealed container in the trash rather than pouring it down the drain, where it can clog pipes.
A Note on Nutrition
Deep-fried onion rings are an indulgence, so they work best as a side rather than a main. Baking or air frying uses far less oil, and pairing rings with a fresh salad or grilled protein balances the plate. Some people find fried foods hard to digest and may notice bloating after a large portion, so keep servings moderate if that applies to you.
Bottom Line
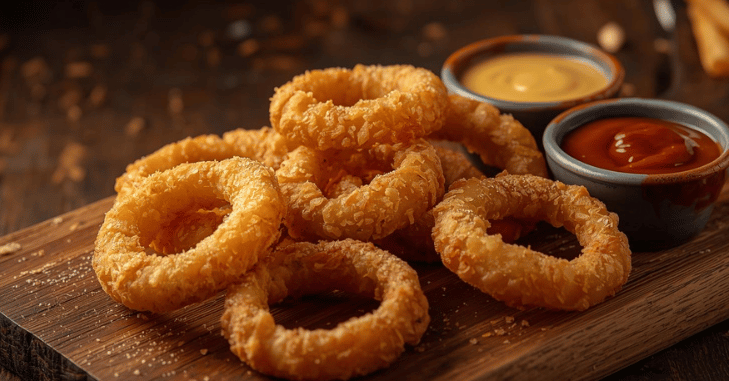
The secret to great homemade onion rings is not a special ingredient but a few habits: dry onions, a cold and lightly mixed batter, a flour-batter-panko coating, steady oil at about 365°F and small batches drained on a rack. Get those right and you will have rings that beat anything from the freezer aisle. For more recipes and kitchen guides, explore our Food category.
Frequently Asked Questions
How do you get batter to stick to onion rings?
Dry the rings thoroughly and remove the thin inner membrane, since both moisture and that slippery layer stop the coating from gripping. Dredge in flour before the batter, then let the coated rings rest for 5 to 10 minutes before frying so the crust can set.
What is the best oil temperature for onion rings?
Fry at 350 to 375°F (175 to 190°C), ideally around 365°F. Cooler oil makes greasy rings, while hotter oil browns the crust before the onion has softened. A clip-on thermometer makes it easy to stay in range.
Should I soak onions before making onion rings?
Soaking is optional. A 15 to 30 minute buttermilk soak mellows the sharp onion flavor and helps the coating grip. Just pat the rings dry afterwards so the batter does not slide off.
Can you make onion rings in an air fryer?
Yes. Use a flour, egg and panko breading instead of wet batter, spray the rings lightly with oil and cook at 375°F (190°C) for 8 to 10 minutes, flipping once. Cook in a single layer for the crispiest result.
How do you keep onion rings crispy?
Drain them on a wire rack rather than paper towels and never stack them. Keep finished batches warm in a 200°F oven while you fry the rest, and reheat leftovers in the oven or air fryer instead of the microwave.
What kind of onion is best for onion rings?
Large yellow onions are the all-purpose favorite because they balance sweetness and savory flavor. Sweet onions such as Vidalia give milder, sweeter rings, while white onions are sharper with more bite.